My daughter is active in
The International Order of the Rainbow for Girls organization. They are a youth group under the guidance of the Masonic Fraternity. They teach lessons of service, love for home, family and community, speech and such. My oldest daughter was also in Rainbow, so we have been in this for 14 years now.
 |
| Green |
We are part of a brand new assembly. The girls are actively working to grow the membership in their group. This means they need to do lots of fundraising and need 'stuff' for their assembly room. I was in the meeting a couple of weeks back and realized chair covers like they use at their big state meeting would sure spiff things up. The state uses black covers so the theme decorations get attention. In our little bland room though, covers in the colors of the Rainbow would be fantastic for events.
 |
| A bright stack - green, orange, red, yellow, indigo, violet |
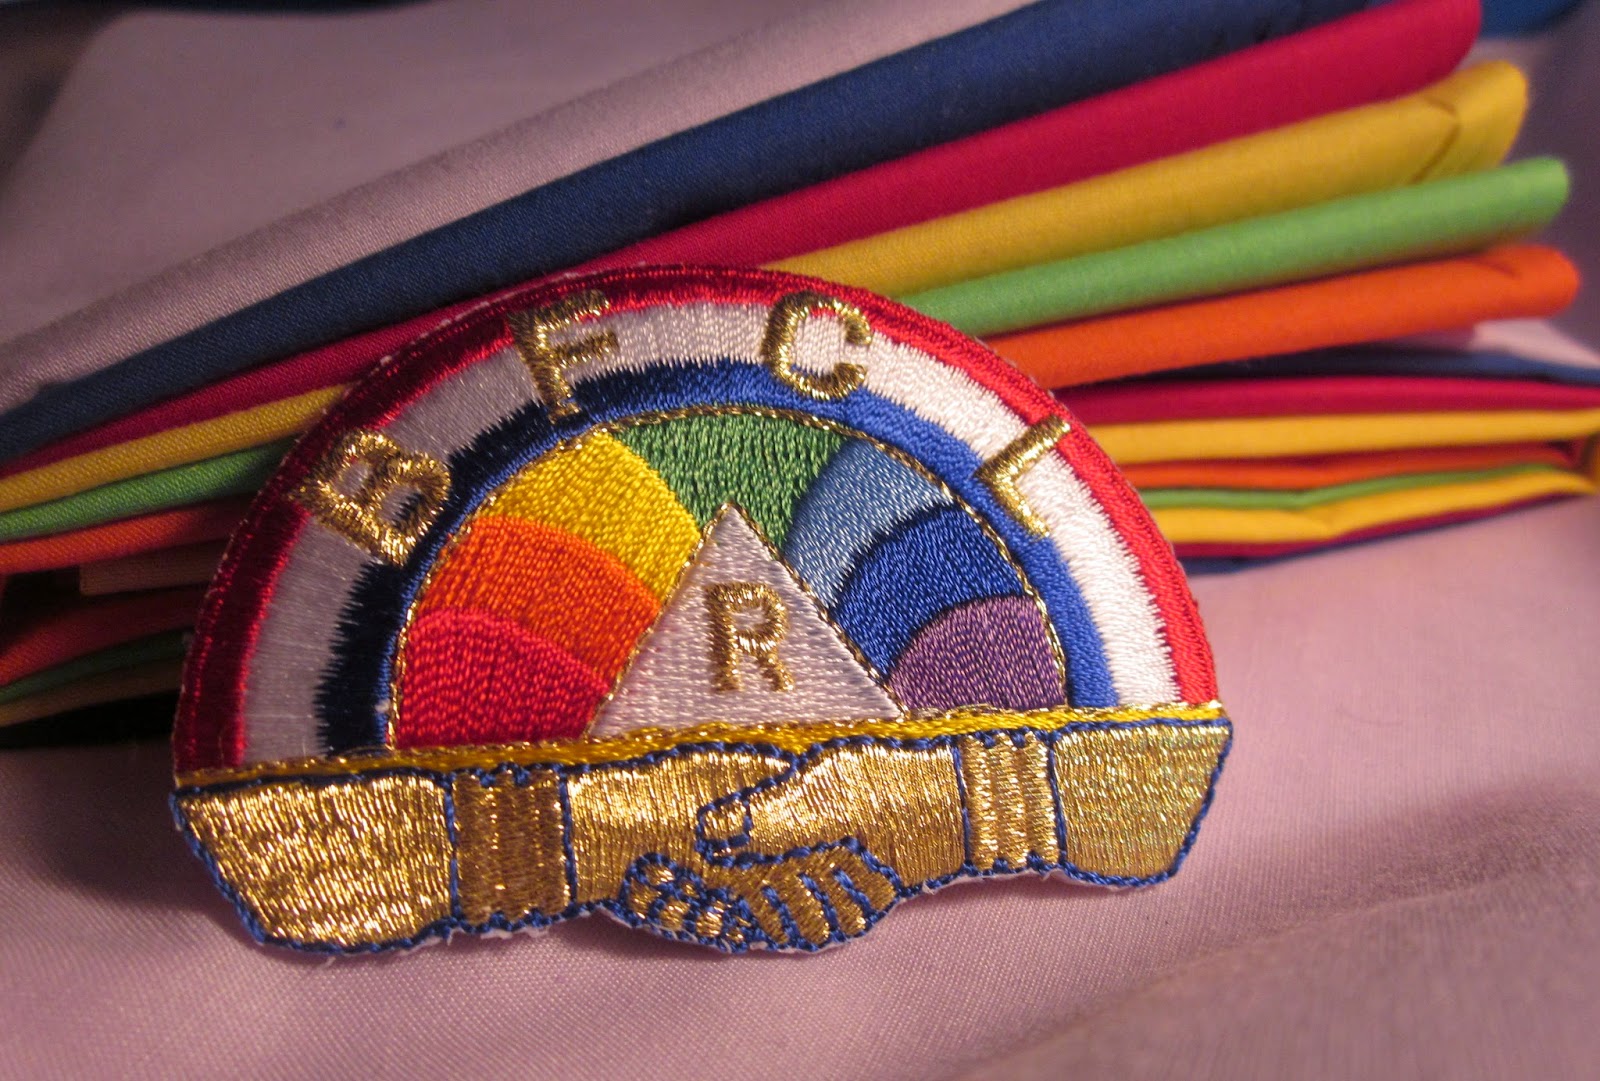
We went shopping and found fabric matching 6 of the 7 colors pretty quick - still on the hunt for the perfect light antique blue in cotton. I borrowed a chair to bring home and make my pattern. Why buy a pattern when I can draw my own? I laid the chair down and traced the curve at the top, because of course, we wouldn't have a squared off chair, LOL. Then I measured and pondered whether to use one long piece of fabric or two pieces to make the cover. I finally decided on two pieces, as I found Rainbow patches to sew on the covers. It will be easier to attach, pre assembly, to a smaller piece of fabric.
 |
| This is the violet chair cover |
For once, I followed common sense and made a practice cover first. I used the black from a bolt I bought some time back. That bolt has come in handy so many times! I measured the chair to get the basic dimensions. Then I used my tracing to get the proper curvature. A quick seam, then the test to see how I did ... Voila! It fit! It looked pretty darn good too considering I hadn't ironed it yet. Wahoo! Success! Now to repeat it with the emblems attached to the vivid colors.
 |
| Unironed red ... I like it! |
I have to admit it seemed easier cutting fabric, assembly line style. By making the cover from 2 pieces, I can make the complete cover with just one yard. I fold the fabric, selvage to selvage, make sure I have a straight edge then cut two 18 inch x WOF pieces. Then I cut one piece shorter for the face of the chair back. The other was longer for the back of the chair back. If you try this, you will have to measure your chair to see how to optimize your fabric.
 |
| Indigo needs pressed, LOL. |
I measured down 8 inches and marked the back for the placement of the emblems. I got so lucky and found that above the clasped hands is a yellow line. I threaded my machine and stitched right across there. I rethreaded my machine with bright red and stitched the curved top slowly and carefully. Wahoo!! It worked. No hand stitching for me :)
After that I match up the front and back piece and stitch the seam that goes from one side, up and over to the other. Hem the thing and its done. I must be doing something wrong because it is way too easy! Oh well. I can handle easy, hehehe. In no time at all, voila! Seven chair covers made to custom match the ribbons they already had in red, orange, yellow, green, blue, indigo and violet. Go Rainbow!
 |
| The chairs set up in the meeting room. |